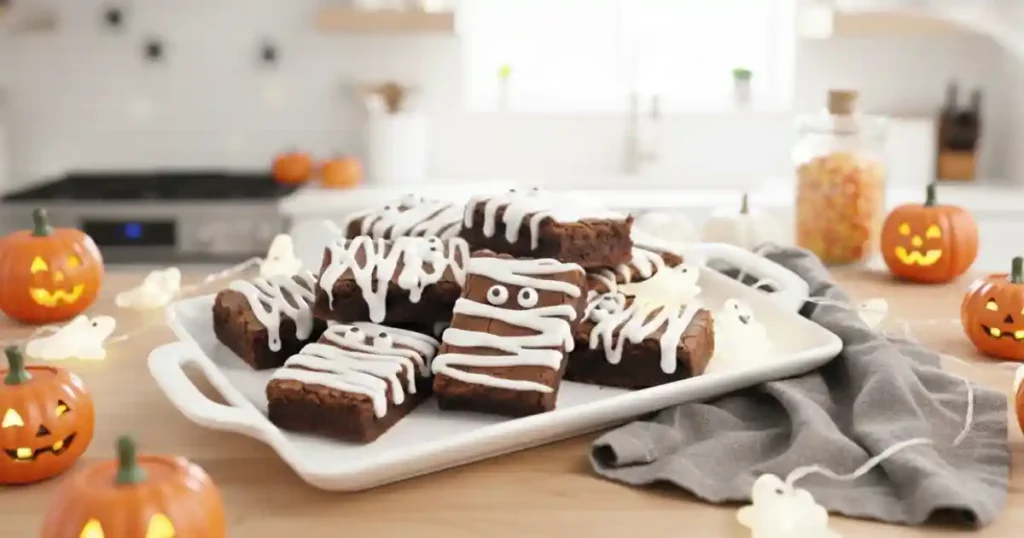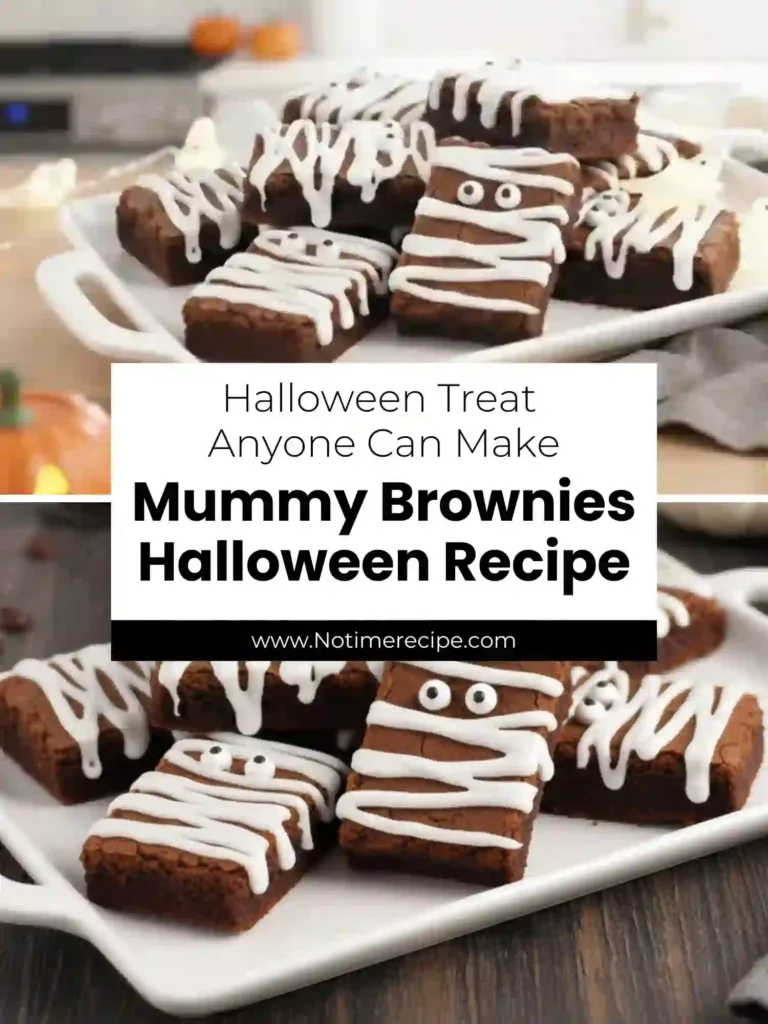
If you’re looking for a Halloween treat that’s fun, easy, and guaranteed to make kids smile, these mummy brownies are the perfect pick. Whether you’re a confident baker or someone who usually shies away from decorating, this recipe is simple enough for anyone to master.
I started making these a few years ago for my son’s dayhome, and they’ve been a favorite ever since. Although I love baking, decorating has never been my strength. I’m not very artistic, so even when I imagine something amazing, the result rarely matches. That’s why I love these mummy brownies. They’re super easy to decorate, even if you don’t feel creative.
My son has always been obsessed with Halloween, so each year I try to create festive treats that I can actually pull off. These brownies have become our go-to. Unlike other mummy recipes that require frosting or cream cheese icing, this version uses only white chocolate for the wrapping. Fewer ingredients, less mess, and a whole lot of spooky cuteness.
🕒 Prep Time: 15 min
🕒 Cook Time: 25 min
🕒 Total Time: 40 min (plus cooling and decorating time)
Why I Love This Recipe
I started making these mummy brownies for my son’s dayhome a few years ago. While I’ve always loved baking, decorating has never been my strength. These are one of the few treats I feel confident making look cute. They’re easy, kid-friendly, and always get a smile, even from me.
My son is Halloween-obsessed, so I try to come up with different spooky treats each year. But these brownies are now a family tradition. I also love that they skip frosting. Many recipes call for cream cheese or buttercream, which is delicious but more work. With just white chocolate, these come together quickly and taste amazing.
Ingredients
For the Brownies:
• 225g (8 oz) semi-sweet or dark chocolate
• ½ cup (113g) unsalted butter
• 1 teaspoon vanilla extract
• 2 large eggs
• 1 cup (200g) granulated sugar
• ⅔ cup (80g) all-purpose flour
• ¼ cup (25g) cocoa powder
• ½ teaspoon salt
• ¾ cup (120g) semi-sweet chocolate chips
Or use your favorite 8×8 or 9×9 boxed brownie mix.
For Decoration:
• 100g (3.5 oz) white chocolate
• 18 to 32 candy eyeballs (2 per brownie)
Equipment
• 8×8 or 9×9 baking pan
• Microwave-safe bowl
• Whisk or mixer
• Spatula
• Parchment paper
• Ziploc or piping bag
Step-by-Step Instructions
Step 1: Preheat and Prep
Preheat your oven to 350℉. Line or grease your baking pan and set aside.
Step 2: Melt Chocolate and Butter
In a microwave-safe bowl, melt the chocolate and butter in 30-second bursts, stirring in between. Stir in the vanilla extract.
Step 3: Whip Eggs and Sugar
In another bowl, beat the eggs and sugar on medium-high speed for 3 minutes until pale and ribbony. This helps achieve that shiny, crackly brownie top.
Step 4: Combine and Fold
Slowly whisk in the warm chocolate mixture. Then add flour, cocoa powder, and salt. Gently fold with a spatula until almost combined. Fold in chocolate chips last.
Step 5: Bake the Brownies
Pour into the prepared pan. Bake for 24 to 26 minutes. Insert a toothpick two-thirds from the edge, it should come out with moist crumbs for perfect fudgy brownies.
Step 6: Cool Completely
Let the brownies cool fully before decorating.
Step 7: Decorate with White Chocolate
Melt white chocolate in 20-second intervals. Transfer to a Ziploc or piping bag. Snip the end and drizzle in crisscross lines to mimic mummy bandages.
Step 8: Add Candy Eyes
Place 2 candy eyeballs near the top of each future slice. For 12 brownies, place 4 sets of eyes in 3 rows.
Step 9: Set and Slice
Let the chocolate set, then cut and enjoy. Store in an airtight container for up to 3 days.
Box Mix or Homemade?
Both work beautifully. I love using my fudgy brownie base, but if you’re short on time or want a gluten-free version, a box mix or store-bought brownies are perfect too.
Pan Size Tips
An 8×8 or 9×9 pan is ideal. A larger 9×13 pan may require doubling the white chocolate and eyeballs. Cutting 12 longer pieces gives a mummy-like look, just place your eyeballs accordingly before slicing.
How to Get That Crackly Brownie Top
Want shiny, bakery-style brownie tops? The trick is to vigorously whisk eggs and sugar until fluffy, then slowly add the warm chocolate-butter mixture. This melts the sugar into the eggs, creating a meringue effect and that dreamy crackle every time.
How to Measure Flour Properly
The most accurate method is by weight with a kitchen scale. If measuring by cups, follow these steps:
- Fluff the flour with a fork
- Spoon into the cup (don’t scoop directly)
- Level off with a flat knife
- Repeat as needed
This prevents dense, dry brownies from using too much flour.
Baking Tips
• Use a metal pan for even baking. Glass or ceramic can cause the center to underbake
• Don’t overmix your batter. Fold gently until just combined
• Always cool before decorating
• Chill before slicing for cleaner cuts
• Measure by weight for accuracy and fewer dishes
Halloween Vibes
Every October, I turn up “Werewolves of London” by Warren Zevon while baking these. There’s something about the spooky howl and upbeat rhythm that makes the kitchen feel like Halloween. AHOooO!
Disclaimer: Liv’s Little Muffins owns no rights to this song. Just a festive tradition.
Nutrition Info
Each mummy brownie (based on 12 servings) contains approximately 356 calories. Expect 46 grams of carbohydrates, 36 grams of sugar, and 2.6 grams of fiber. You’ll also get 20 grams of fat, including 12 grams of saturated fat. Each serving offers 4 grams of protein, 53 milligrams of cholesterol, 119 milligrams of sodium, and small amounts of potassium, calcium, and iron.
Disclaimer: Nutrition estimates are based on general data and may vary depending on ingredients and brands used. Always check product labels or consult a registered dietitian for specific dietary advice.
